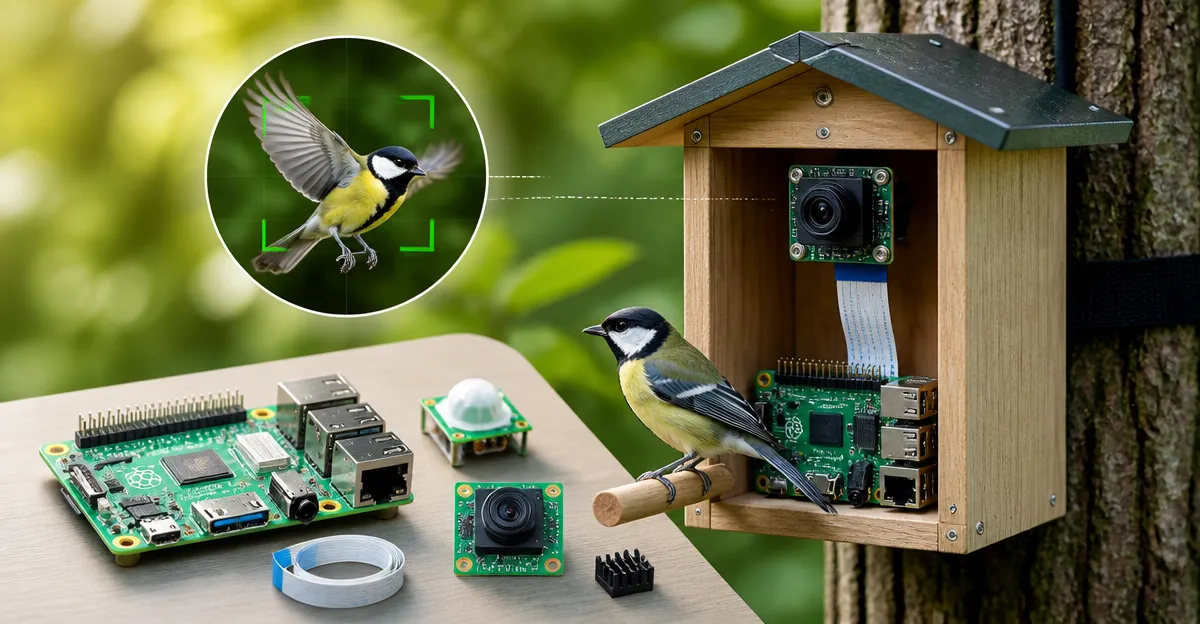
How to Build a DIY Raspberry Pi Bird Camera with Motion Detection
Introduction
This guide explains how one can construct a reliable bird‑watching camera using a Raspberry Pi and compatible camera modules. The reader will learn how to select appropriate hardware, install motion‑detection software, and protect the system from the elements. By following the steps, one can capture high‑quality images and video of visiting birds without constant manual supervision. The project provides a cost‑effective solution for hobbyists, educators, and wildlife enthusiasts.
What You'll Need
- Raspberry Pi board (any model with a CSI connector, such as Pi 4 or Pi 5)
- Micro SD card (Class 10, at least 32 GB)
- Power supply (5 V, 3 A recommended)
- Camera module (recommended options are listed below)
- Enclosure suitable for outdoor use
- Optional: IR LEDs for night vision, heat‑sinks, and a small tripod
Step 1: Choose the Camera Module
The camera module determines image quality, low‑light performance, and whether autofocus is required. For most bird‑watching scenarios, a 12 MP sensor with manual focus provides the best balance of detail and flexibility. The Arducam IMX477 HQ Camera offers a 12.3 MP sensor, a 6 mm CS lens, and manual focus, making it ideal for capturing distant subjects. It is priced at $69.99, carries a 4.6‑star rating from 18 reviews, and includes two cables for various Raspberry Pi models. This module outperforms lower‑resolution cameras in daylight and can be paired with an IR filter for night use.
If budget constraints are a primary concern, the Arducam 5MP Camera provides 1080p video at a low price of $6.99. It receives a 4.4‑star rating from 1,261 reviews and works well for basic monitoring of feeder activity. While its fixed‑focus lens lacks the precision of the HQ model, it remains a viable entry‑level option for users who do not require close‑up detail.
For projects that demand automatic focus, the Arducam Camera Module 3 provides a 12 MP IMX708 sensor with PDAF and CDAF technologies. Priced at $36.00 and rated 4.4 stars from 142 reviews, it delivers sharp images across a wide range of distances. This module is especially useful for dynamic setups where the camera may need to refocus on moving birds.
When artificial intelligence is required for on‑board object detection, the Raspberry Pi AI Camera integrates a Sony IMX500 sensor with a neural‑network accelerator. Although it costs $95.97 and holds a 4.2‑star rating from 22 reviews, it enables edge‑AI inference without sending frames to an external GPU. This camera is suitable for advanced users who wish to run lightweight models such as MobileNet directly on the device.
Step 2: Assemble the Camera and Connect to the Pi
Begin by powering off the Raspberry Pi and locating the CSI connector on the board. Insert the camera ribbon cable with the metal contacts facing the Pi’s circuit board, then secure the connector latch. For the HQ Camera, use the 300 mm 22‑pin cable appropriate for the Pi model; the package includes both 15‑pin and 22‑pin options. Ensure the cable is firmly seated to avoid intermittent video feed, a common cause of timeout errors.
If using the Day‑Night variant, attach the provided heat‑sinks to the IR LED board before connecting the ribbon cable. The heat‑sinks mitigate thermal buildup, which can otherwise cause image distortion or hardware shutdown. After connection, verify that the camera is recognized by executing vcgencmd get_camera in the terminal; a response of supported=1 detected=1 confirms proper attachment.
Step 3: Install the Operating System and Required Packages
Download the Raspberry Pi OS Lite image and flash it onto the micro SD card using a tool such as Raspberry Pi Imager. Insert the card into the Pi, connect a monitor and keyboard, and power on the device. After the initial boot, update the package list with sudo apt update && sudo apt upgrade -y, then install the motion detection daemon using sudo apt install motion -y.
For camera modules that rely on the new libcamera stack, install the libcamera utilities with sudo apt install libcamera-apps -y. The HQ Camera and Camera Module 3 both support libcamera, enabling high‑resolution stills and video streams. Verify functionality by running libcamera-hello, which should display a preview window if the camera is correctly configured.
Step 4: Configure Motion Detection Software
Edit the motion configuration file located at /etc/motion/motion.conf. Set daemon on, stream_localhost off, and adjust threshold and noise_level to values that balance sensitivity and false positives. For bird feeders, a threshold of 1500 and a noise level of 32 often produce reliable detection without triggering on wind‑blown foliage.
Enable the webcam stream by setting webcam_port 8081 and webcam_localhost off. This configuration allows remote viewing of the live feed from any device on the network. To conserve power, configure framerate 2 and output_pictures off unless image capture is specifically required.
Step 5: Optimize Power and Weather Protection
Outdoor installations benefit from a weather‑proof enclosure with a clear acrylic window for the lens. The enclosure should provide ventilation to prevent condensation, which can obscure the image. Mount the camera on a small tripod or a custom 3‑D‑printed bracket to achieve a stable viewing angle aimed at the feeder.
Power the Pi using a solar panel and a charge controller if grid power is unavailable. A 5 V, 3 A power bank can also serve as a temporary power source during testing. Ensure that all cables are sealed with silicone gel or heat‑shrink tubing to protect against moisture ingress.
Step 6: Test the System and Fine‑Tune Settings
After completing the hardware assembly and software configuration, restart the motion service with sudo systemctl restart motion. Access the live stream via a web browser at http://raspberrypi_ip:8081 and observe the detection response when a bird approaches the feeder. Adjust the motion threshold and mask regions to ignore irrelevant motion such as moving leaves.
For night‑time operation, enable the IR LEDs on the Day‑Night Camera or attach external IR illuminators. Verify that the automatic IR‑cut filter switches correctly by toggling the camera LED state using the provided Python script. Record a short video to confirm that the night feed is clear and free of pink tint, a common issue when the IR filter fails to engage.
Tips & Pro Tips
- Use a high‑speed micro SD card (U3, V30) to prevent frame drops during continuous recording.
- Apply a small amount of anti‑reflective coating to the lens if glare from sunlight becomes problematic.
- Mount the Pi in a vertical orientation to improve heat dissipation; the CPU throttles less when heat can rise naturally.
- Consider enabling
ffmpeg_output_moviesin the motion configuration to generate short video clips instead of still images.
Troubleshooting
- Camera not detected: Verify that the ribbon cable is fully inserted and that the correct
dtoverlayline is present in/boot/config.txt. For the IMX708 sensor, adddtoverlay=imx708,cam0. - Motion false positives: Increase the
thresholdvalue and define a mask to ignore motion from wind‑blown foliage. - Night vision appears pink: Ensure the IR‑cut filter is engaged; if using the Day‑Night Camera, run the
CameraLED.pyscript to toggle the filter.
Conclusion
By following this guide, one can assemble a durable Raspberry Pi bird camera that captures high‑definition images and detects motion automatically. The recommended Arducam modules provide flexibility for a range of budgets and technical requirements, from basic monitoring to AI‑enabled object detection. Proper enclosure, power management, and software tuning ensure reliable operation throughout the year. Readers are encouraged to experiment with additional sensors, such as temperature or humidity probes, to enrich their bird‑watching data.
Products Mentioned in This Guide
Frequently Asked Questions
Which Raspberry Pi models are suitable for a bird‑watching camera?
Any Pi with a CSI connector, such as the Pi 4 or Pi 5, works well for this project.
What type of SD card should I use for reliable recording?
Use a Class 10 micro SD card of at least 32 GB to ensure fast write speeds and sufficient storage.
Do I need additional hardware for night‑time bird monitoring?
Adding IR LEDs provides night vision, and a camera with manual focus helps capture clear images in low light.
How can I implement motion detection on the Raspberry Pi?
Install motion‑detection software like MotionEye or libcamera‑motion, then configure it to trigger recordings when movement is detected.
What enclosure features protect the camera from outdoor elements?
Choose a weather‑sealed enclosure with a clear window for the lens, and consider adding heat‑sinks or a small fan to manage temperature.